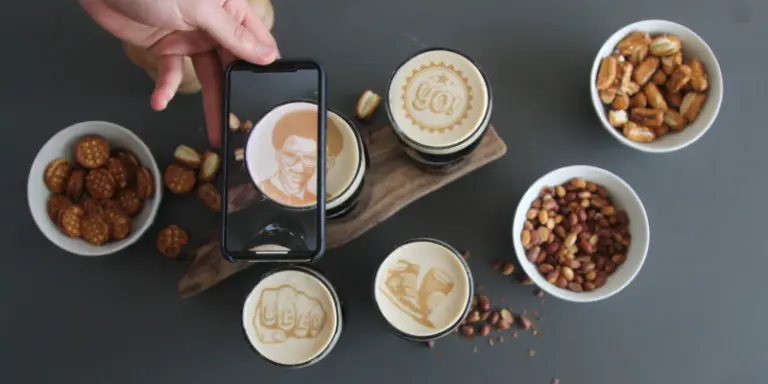
It’s been nearly a decade since we brought the first Ripple Maker to market and we’re still occasionally accused of using photoshop to create the gorgeous pictures we (and our customers worldwide) share.
Our secret is actually perfect foam. It’s easy once you master it, but velvety smooth foam and a glass filled to the brim are the key components for a perfectly printed cocktail or selfie coffee. Here are a few of the best tips and tricks we’ve developed over the past decade as we’ve perfected our technique to create beautiful printed foamy cocktails and latte art on your Ripples foam printer.
HOW TO MAKE COCKTAIL FOAM
Bartenders have a few tricks up their sleeves to add a velvety texture and body to cocktails. Traditionally, egg whites were aerated through a dry shake without ice to achieve this effect. However, for those looking for a vegan alternative, aquafaba, the liquid from canned chickpeas, has gained popularity.
For cocktail foam, especially during and since the molecular gastronomy movement in the early aughts, bartenders have used heavy cream and gelatin, especially when employing the iSi Gourmet Whip foam canister. To maintain the foam’s structure, a stabilizer like lemon juice is often added. Originally meant for whipped cream, the iSi foam tool has become a favorite among bartenders for creating thick and evenly distributed foam, transforming flavors into a light, edible cloud.
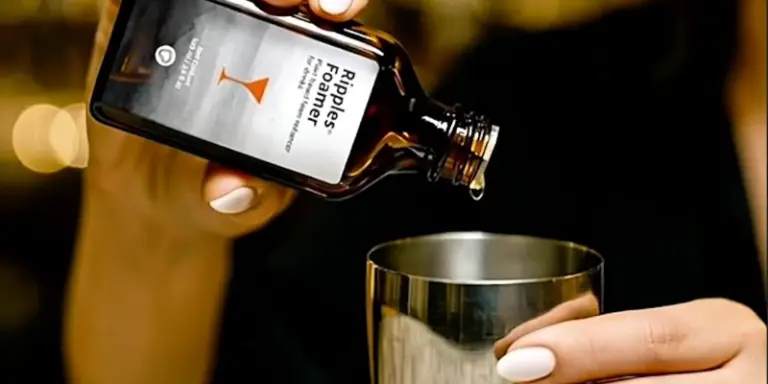
Others offer kegged nitrogen infused cocktails, creating foam the same way you would for a nitro cold brew coffee or a Guinness. You can even order droppers of foamer or use pineapple juice.
The options are endless, but if you’re new we’d recommend either a simple egg white cocktail, or aquafaba for an easy vegan substitution. Dried aquafaba powder is another easily accessible and growingly popular option in many parts of the world.
The trick to create the perfect foam for an egg-white or aquafaba cocktail is to dry shake, then wet shake your cocktail, and then double-strain.
- Add all ingredients to your cocktail shaker. Cover and shake for 20 seconds
- Add ice. Shake for 40 seconds.
- Double strain into a coupe or martini glass. Fill to the brim.
- Top with your Ripples print.
This is the ideal, traditional method we recommend for a standard bar setup. Nitro cocktails from a tap, an atmospheric nitrogen infuser or an iSi tool are all good solutions if you’re serving drinks at a large scale.
Each of these methods will allow you to create a perfect foam-topped cocktail suitable for drink prints every time.
Not only is she our chief Customer Success trainer, Emily is also our fantastic barista and bartender in residence.
HOW TO FROTH MILK – LATTES
Creating perfectly smooth latte foam requires attention to detail and proper technique. Use fresh, cold whole milk (3%) for the best results. Whole milk has a higher fat content, which helps create a creamy and smooth texture.
- Prepare your espresso by your usual methods.
- Steam very fine microfoam.
Fill the steaming pitcher with cold milk. Use the steam wand to create a smooth, even foam. Try to move the pitcher back and forth to create a thicker foam in the middle of the pitcher.
- Pour the milk. Slowly pour the steamed milk into the center of the cappuccino. Shake the steamed milk so that the last portion of thick foamed milk will gently pour into the cup. Your cup will have a brown halo at the edge. Make the center of the beverage as white as you can in order to provide the best “canvas” for your Ripple print. Fill cup to the brim.
HOW TO MAKE COLD FOAM
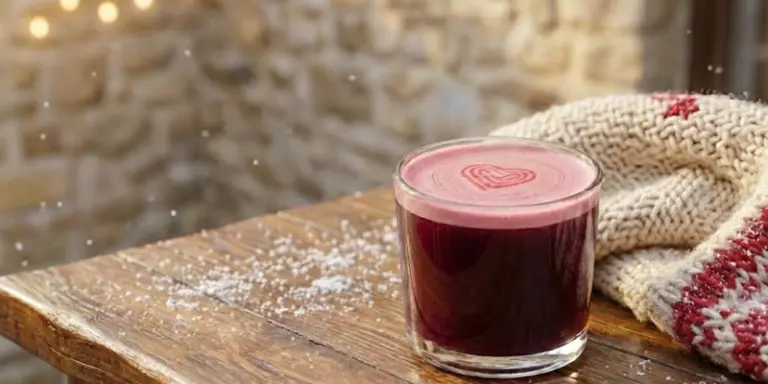
A delightful treat especially for summer is to top iced coffee with a decadent, creamy cold foam. Cold foam is frothed milk made without heat or steam -perfect for iced drinks, as it creates enough of a barrier to separate the ice from the Ripples drink print. It’s velvety and creamy and floats right on top.
Cold foam is still and textured foam made from heavy cream, milk, and (optionally flavored) simple syrup. A high-powered blender with high speed functions work best but we’ve seen this made using a hand-held frother as well.
Ingredients:
¼ cup milk of choice
1 ½ – 2 teaspoons simple syrup (we recommend vanilla!)
Instructions:
- Combine milk and simple syrup in your blender.
- Frother until consistently foamy with a velvety texture – up to three minutes (if you don’t have a blender use a hand frother)
- Pour over your iced coffee, fill glass to the brim
- Top with Ripples
HOW TO POUR BEER WITH THE PERFECT HEAD
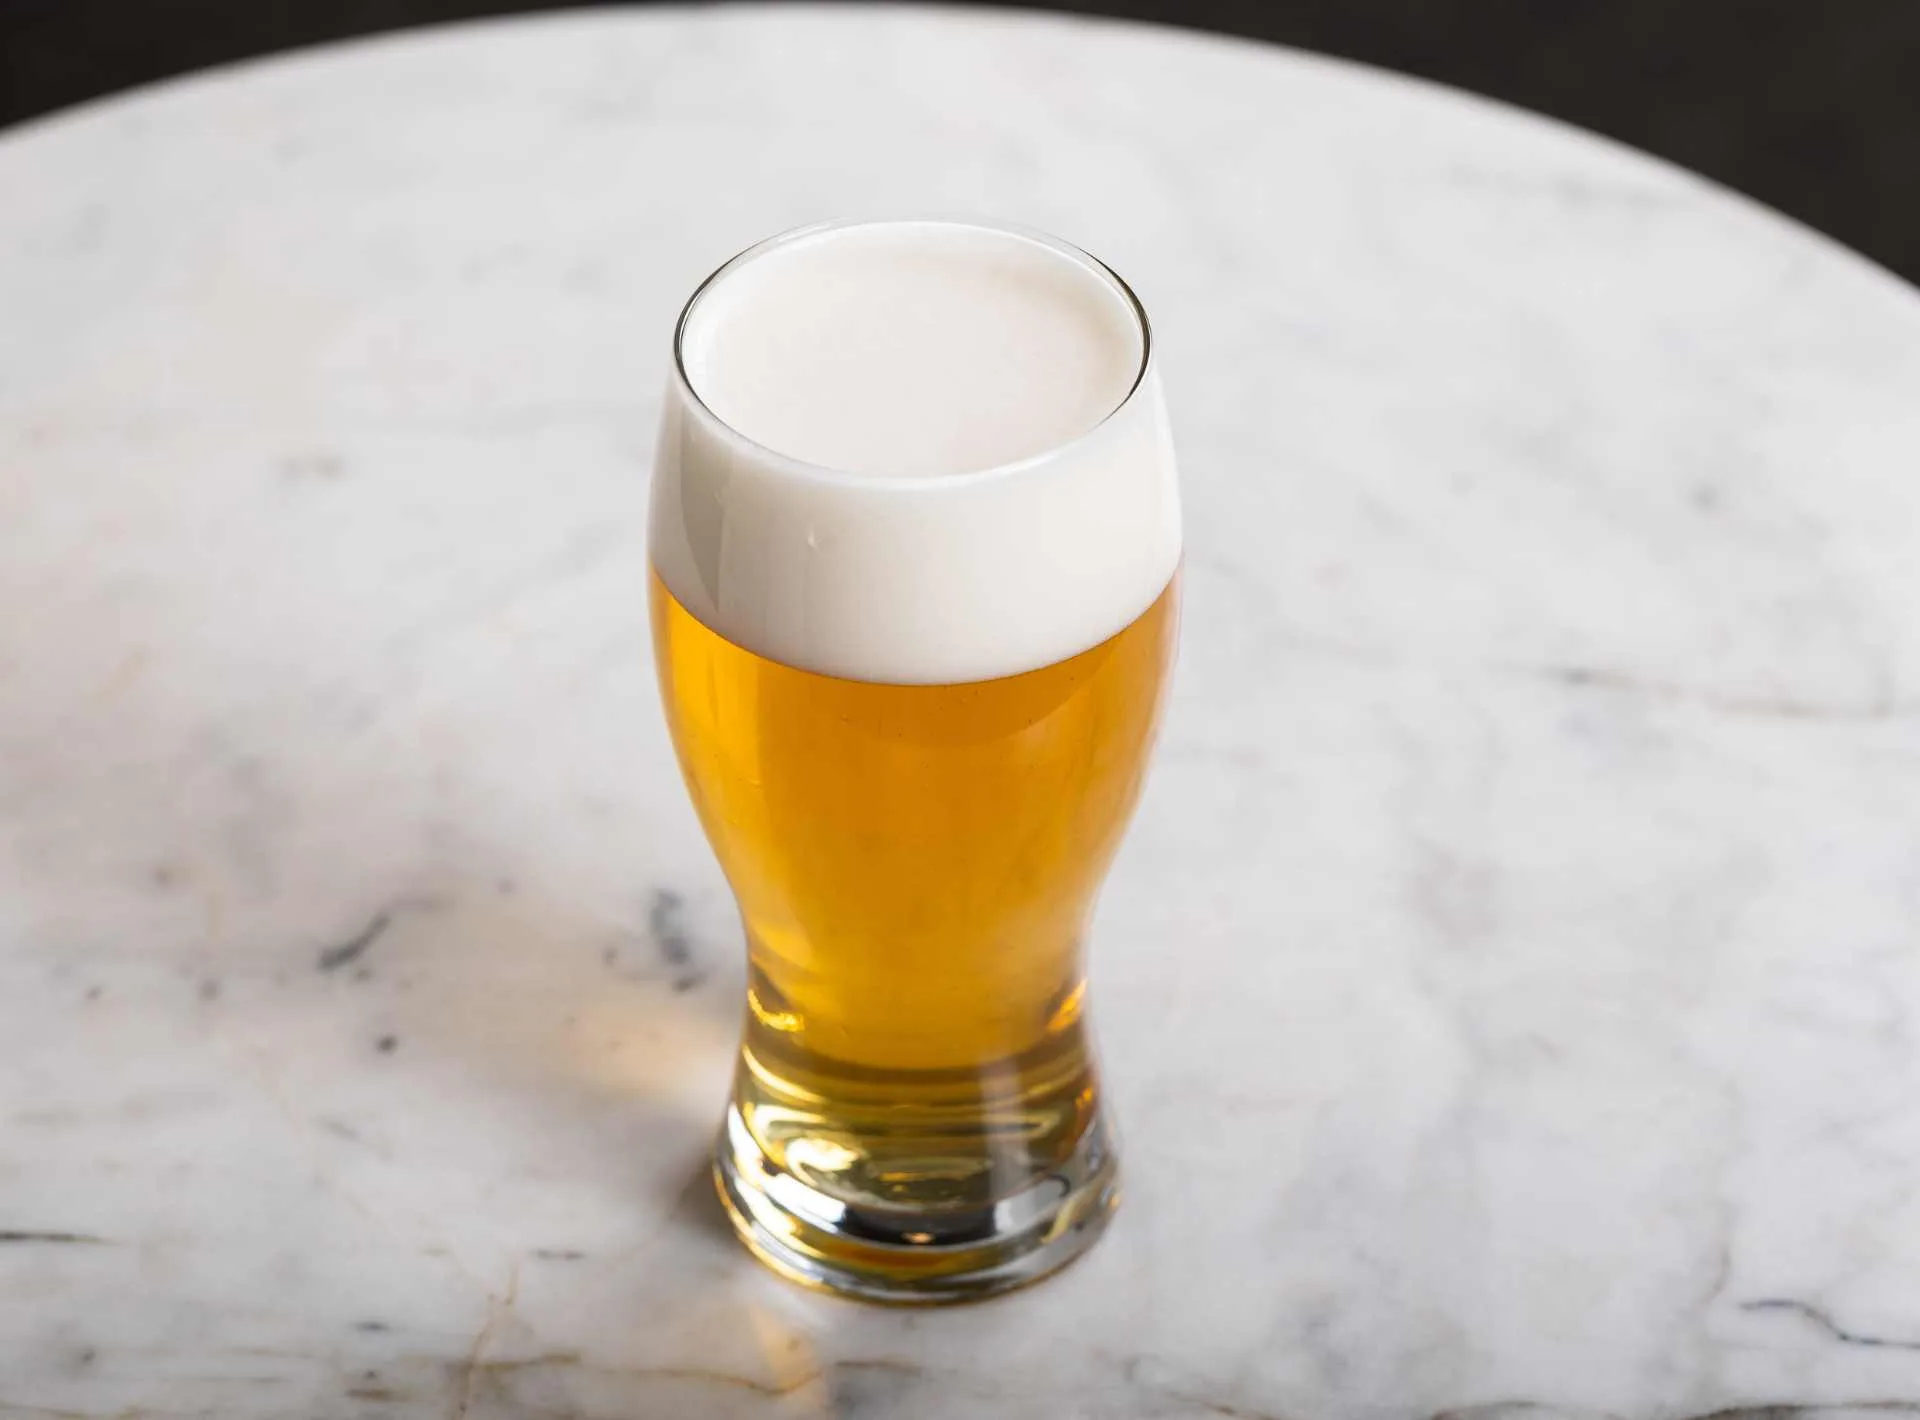
An ice cold beer with two-fingers of perfect foam is a picture-perfect way to spend a summer afternoon at the pup. And it’s the perfect canvas for a foam-printed drink print. Follow these tips to pour the perfect beer head.
Tips for the perfect pour
- Hold your glass at a 45 degree angle and slowly straighten it as the glass fills up
- Pour the beer slowly and gradually
- Fill to the brim
Before you pour
- Don’t rinse your glass first – water reduces friction of the pour which means fewer bubbles
- Don’t dry with a tea towel – make sure you choose a cloth that doesn’t leave any dusts or fluff behind
- Choose a glass – try a Tulip, shaped like a brandy snifter and designed to capture the head and promote the aroma of malty, hoppy beers, or a Wezen glass, which is narrow at the bottom and slightly wider up top, and does the same for wheat beers.
CONCLUSION
Follow these tips, and you’ll be well on your way to creating foam-topped drinks that are the perfect canvas for your printed cocktails and Ripples-topped coffee drinks.


